How Do I Prepare My Garage Floor for Epoxy?
Surface preparation is the most important part of any epoxy floor installation. It is also the step that homeowners most often underestimate. A beautiful epoxy coating applied over a poorly prepared surface will peel, bubble, or delaminate within months. A coating applied over a properly prepared surface lasts for years under real conditions.
Epoxy Plus Flooring Solutions installs epoxy and concrete coatings across Michigan and Indiana. Here is exactly what proper garage floor preparation involves and why each step matters.
Why Preparation Matters More Than the Coating Itself
Epoxy bonds to concrete through mechanical adhesion. The coating needs a surface that is clean, open, and profiled at the right level to grip onto. Smooth, sealed, or contaminated concrete does not provide that grip. No matter how good the epoxy product is, it cannot bond reliably to a surface that has not been prepared correctly.
The concrete surface profile, or CSP, refers to the texture of the concrete after preparation. Different coatings require different profile levels. Professional installers match the preparation method to the specific coating being applied. Getting this right is what separates a coating that lasts from one that fails.
Step One: Inspect the Concrete
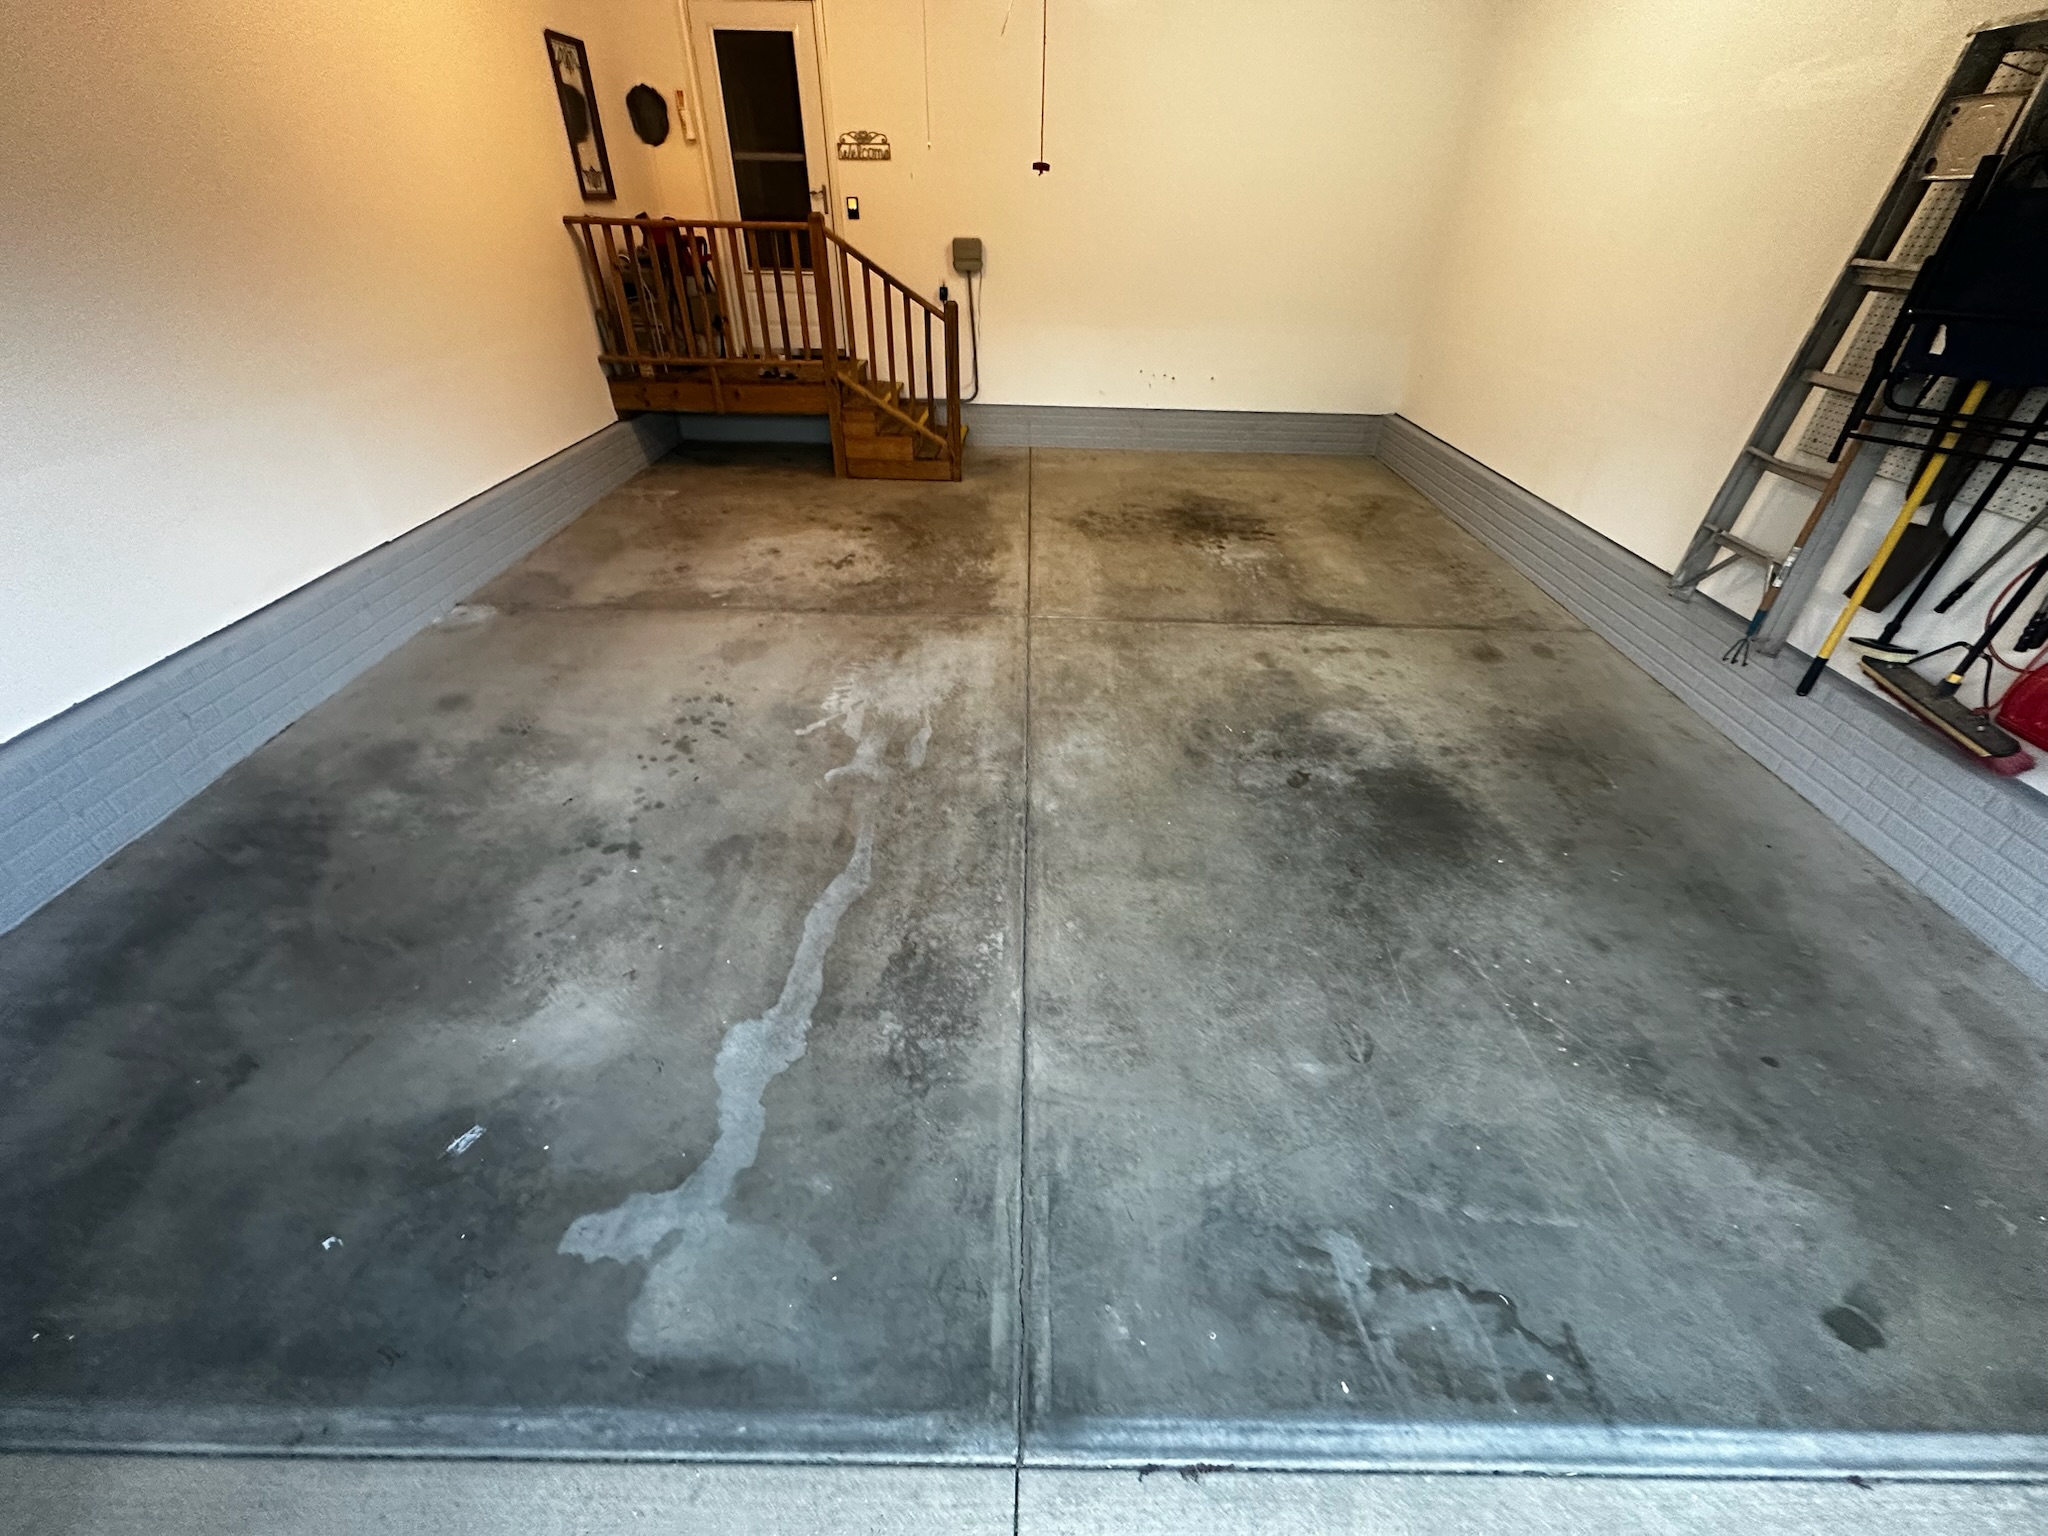
Before any preparation work begins, the concrete needs a thorough inspection. Look for cracks, spalling, pitting, and areas where the surface has deteriorated. Check for previous coatings, sealers, or paint that need to be fully removed. Test for moisture by taping a sheet of plastic to the floor and leaving it for 24 hours. If moisture collects under the plastic, the slab has a moisture issue that needs to be addressed before coating.
Oil stains are one of the most common problems in garage floors. Oil penetrates concrete and prevents epoxy from bonding in those areas. Oil-contaminated spots need targeted treatment before grinding begins.
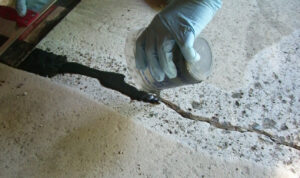
Step Two: Repair Cracks and Damage
Epoxy does not bridge or hide structural problems. Cracks, chips, and spalled areas need to be repaired with the right materials before any coating goes down. Hairline cracks are filled with a rigid epoxy filler. Wider or active cracks require a flexible polyurea joint filler that accommodates movement without breaking the repair.
Skipping this step means cracks will telegraph through the finished coating over time. Proper crack repair is part of every Epoxy Plus installation because a finished floor is only as good as the concrete beneath it.
Step Three: Grind the Surface
Grinding is the most critical mechanical preparation step. Professional concrete grinding uses diamond tooling to remove the top layer of concrete, open the pore structure, and create the surface profile that allows epoxy to bond. Grinding also removes any existing coatings, sealers, laitance, and surface contaminants that would interfere with adhesion.
The grinding equipment matters significantly. Consumer-grade grinders remove surface material unevenly and cannot achieve consistent CSP levels across a full garage floor. Epoxy Plus uses professional planetary grinding equipment that covers the entire surface uniformly and achieves the correct profile for the specific coating system being installed.
Shot Blasting as an Alternative Preparation Method
For certain applications, shot blasting is used in place of or in addition to grinding. Shot blasting propels steel shot at high velocity across the concrete surface, removing contaminants and creating a uniform surface profile across large areas quickly. It is particularly effective for removing thick coatings or preparing large commercial slabs.
Epoxy Plus offers professional shot blasting services across Michigan and Indiana and uses the method when it produces the best result for the specific project.
Step Four: Clean the Surface Thoroughly
After grinding or shot blasting, the surface must be completely cleaned before any coating is applied. Dust, debris, and grinding residue left on the surface interfere with adhesion. Professional installers use industrial vacuums to remove all grinding dust and inspect the surface carefully before proceeding.
Any remaining oil stains are treated again at this stage. A degreaser applied after grinding removes residual oil that the grinding process exposed but did not fully eliminate.
Why DIY Preparation Falls Short
Most DIY epoxy failures trace back to inadequate surface preparation. Homeowners using acid etching, which is the preparation method recommended on most retail epoxy kit instructions, achieve a much lower surface profile than professional grinding produces. Acid etching also does not remove existing sealers, does not address oil contamination reliably, and leaves residue that must be neutralized and rinsed completely before coating.
The result is a coating that looks good initially but separates from the concrete within one to three years. Professional preparation takes more time and equipment, but it is the only way to achieve a bond that lasts.
Let Epoxy Plus Handle the Preparation
Epoxy Plus Flooring Solutions prepares every garage floor correctly before any coating goes down. We inspect, repair, grind, and clean each surface to the standard required for the specific coating system being installed. As a Penntek Certified Dealer serving Michigan and Indiana, we back every installation with a lifetime warranty because we do the preparation work that makes that warranty possible.
Contact Epoxy Plus today by phone (269) 325-9820 for a free estimate and let us help you choose the right system for your floor. You can also check out all of our Google Reviews and additional services.