What Is the Epoxy Flooring Installation Process?
Knowing what to expect on installation day is one of the most practical things a homeowner can understand before booking a floor coating. It helps you prepare your space correctly, understand the timeline you are working with, and evaluate whether a contractor’s process reflects the professional standard that produces a lasting result.
Epoxy Plus Flooring Solutions installs professional floor coatings across Michigan and Indiana. Here is a clear, step-by-step explanation of what a professional epoxy flooring installation actually involves from start to finish.
Step One: Initial Assessment and Estimate
Every Epoxy Plus installation begins with a free on-site assessment before any commitment is made. Our team inspects the concrete slab for cracks, spalling, oil contamination, moisture issues, and previous coatings that need removal. We measure the space accurately, discuss your goals and preferences including color and finish options, and provide a clear written estimate that covers the full scope of work with no hidden costs.
This assessment phase is not simply a sales visit. It produces a specific plan for your floor based on its actual condition rather than a generic quote that does not account for what the concrete actually requires.
Step Two: Space Preparation
Before any equipment or products enter your garage or commercial space, the area needs to be completely cleared. All vehicles, stored items, shelving, and equipment must be removed from the floor area. Wall-mounted items close to the floor that could interfere with grinding equipment should also be moved or removed before the installation crew arrives.
Epoxy Plus communicates specific preparation requirements with every client before the scheduled installation date so there are no delays on the day of work.
Step Three: Concrete Repair
Before grinding begins, all cracks, chips, spalling, and damaged areas are repaired. Dormant cracks are filled with rigid epoxy filler. Active cracks that move with temperature changes receive flexible polyurea joint filler that accommodates slab movement without re-opening. Spalled or pitted areas are patched with appropriate repair compounds and allowed to cure before the grinding phase proceeds.
Oil contamination is treated with professional degreasing products at this stage. Areas with deep oil saturation may require multiple treatment passes to adequately address contamination before the surface is ready for grinding.
Step Four: Diamond Grinding
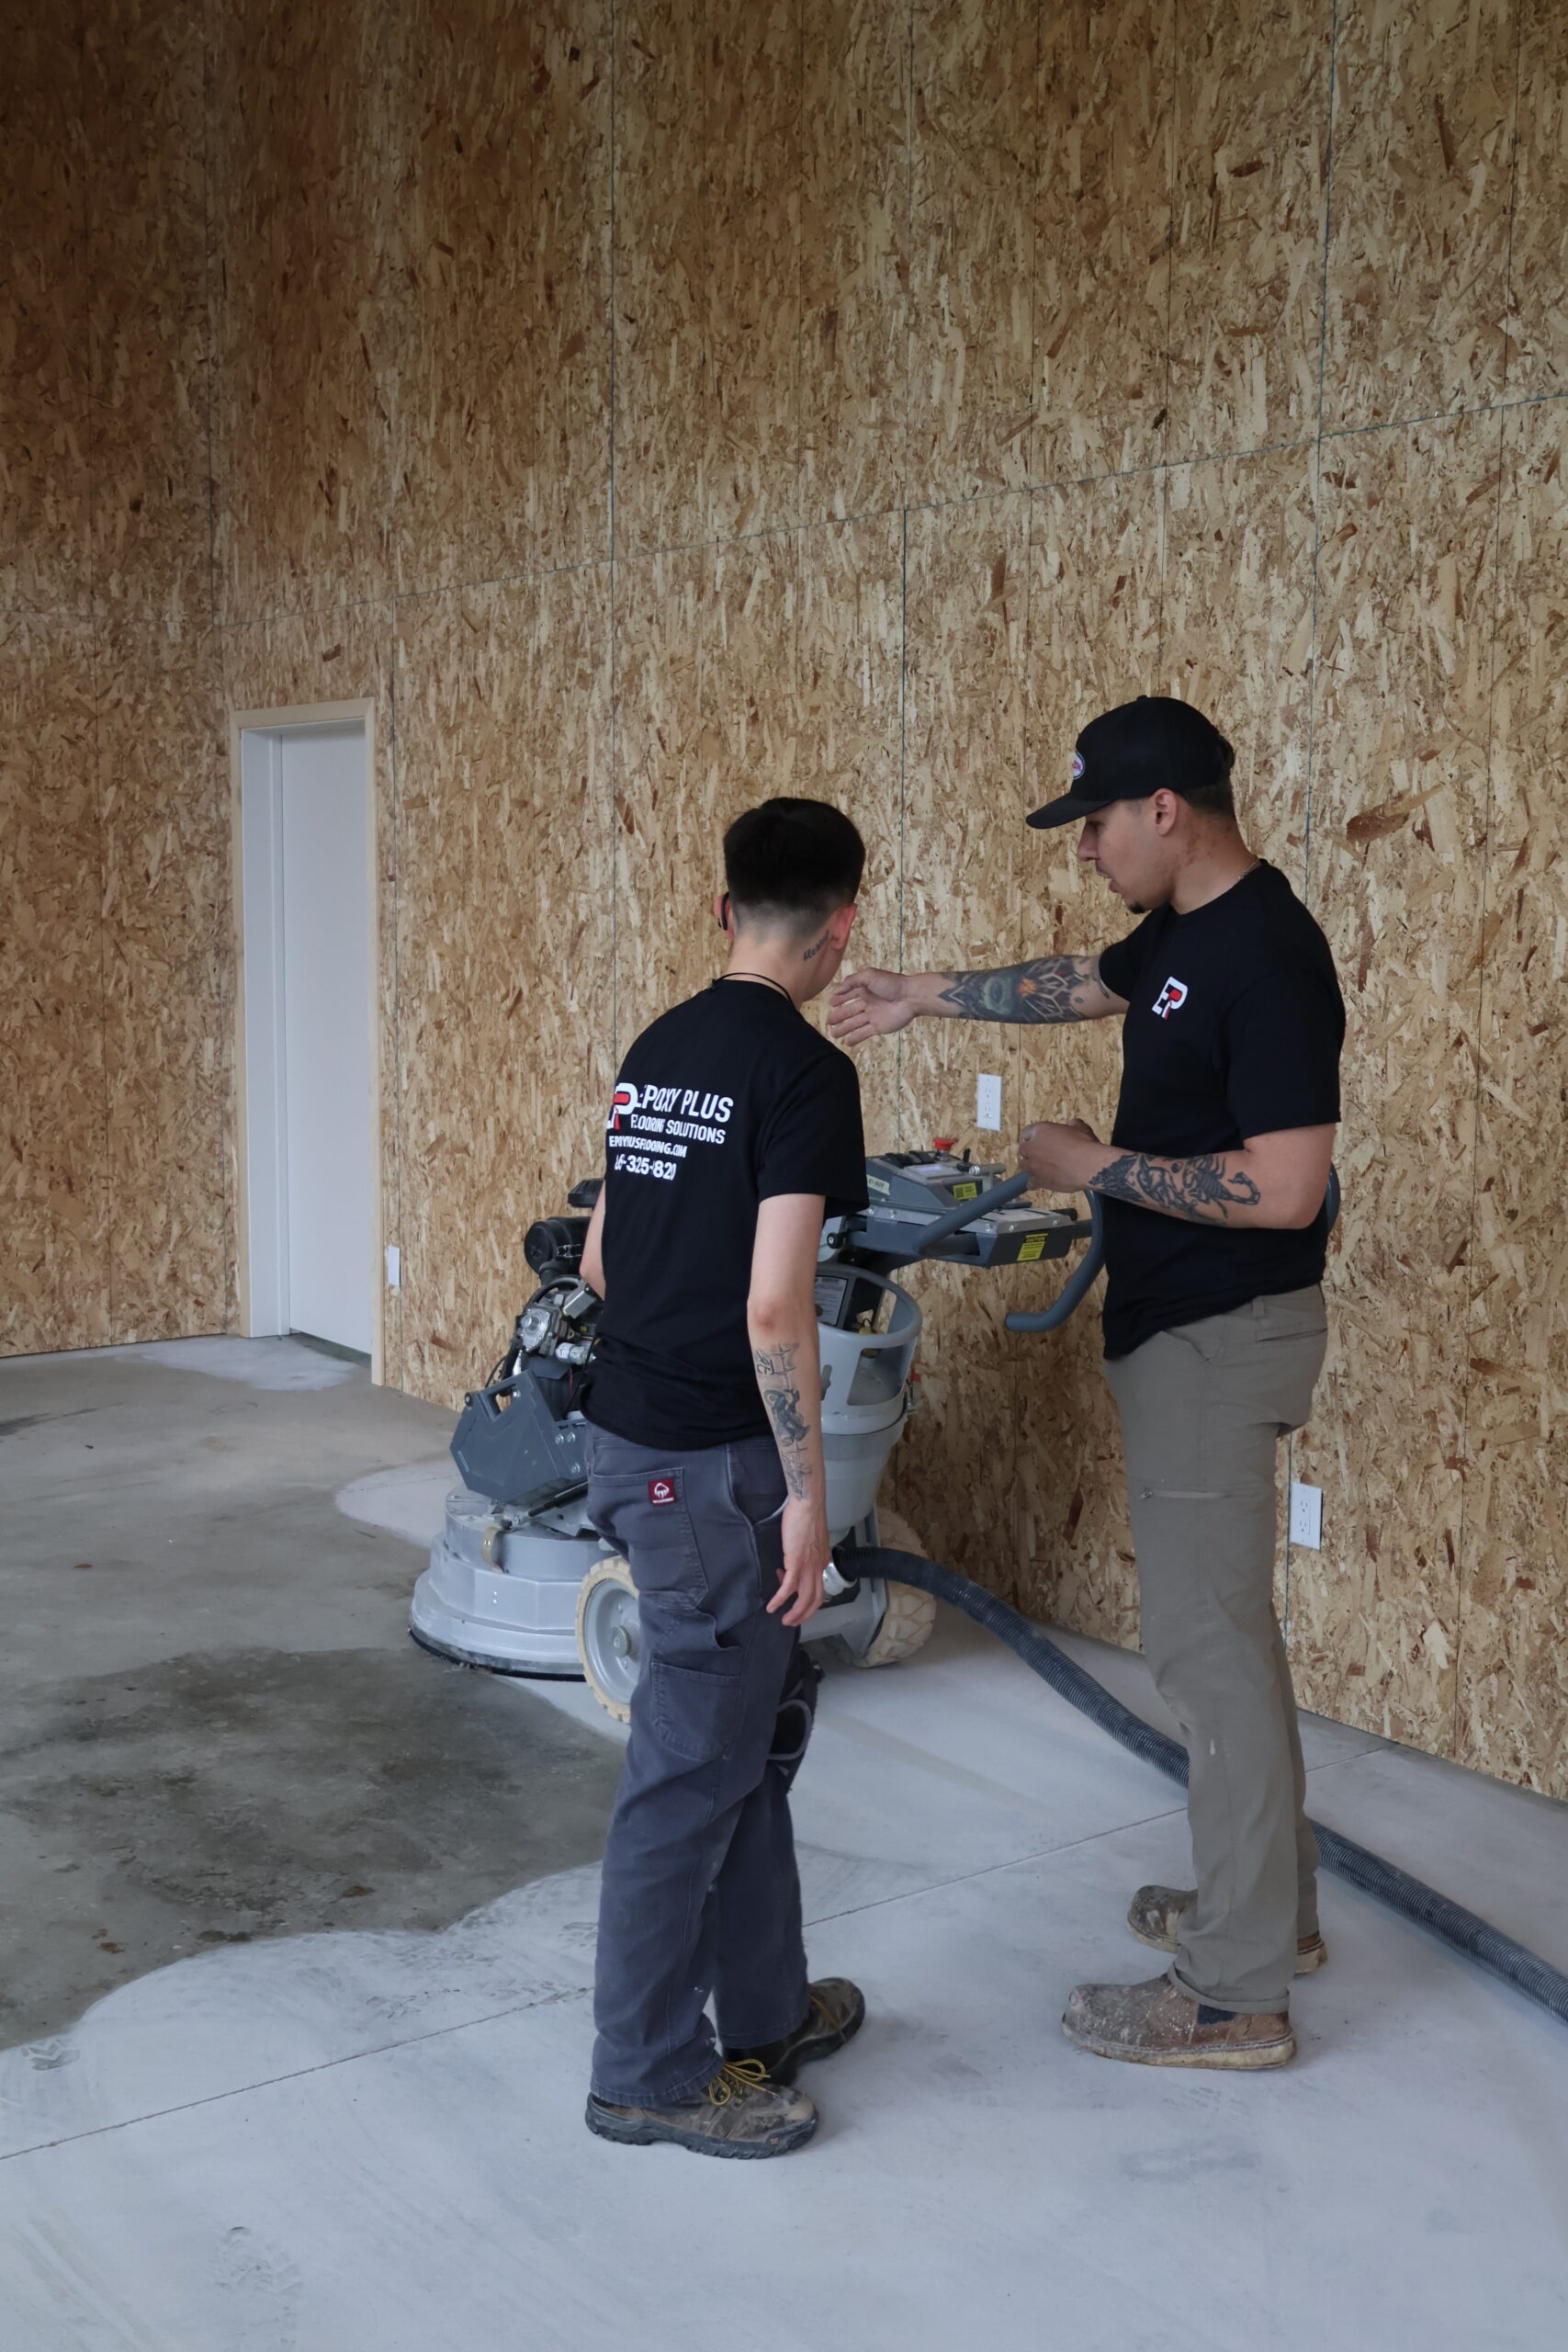
Concrete grinding is the most critical preparation step in the entire installation process. Professional diamond-tooled grinding equipment removes the surface layer of concrete, including laitance, previous coatings, surface contaminants, and any remaining repair material that sits above the surrounding concrete level. This process creates the surface profile that allows epoxy and polyurea coatings to bond mechanically to the concrete rather than sitting on top of a weak surface layer.
Epoxy Plus uses professional planetary grinding equipment that covers the entire floor surface consistently, achieving the correct concrete surface profile across every area of the floor rather than the uneven results that smaller consumer-grade grinders produce. After grinding, the entire floor is thoroughly vacuumed and inspected to confirm it is ready for coating.
Step Five: Base Coat Application
With the surface prepared and confirmed clean, the base coat is applied across the entire floor. The base coat material, whether epoxy or polyurea depending on the system specified for your project, is mixed precisely according to manufacturer specifications and applied at the correct thickness using professional application tools.
Coverage rate and application thickness are controlled carefully during this phase. An under-applied base coat produces a thin film that does not provide adequate bonding strength for the flake and topcoat layers above it. Consistent thickness across the full floor ensures uniform performance and appearance in the finished coating.
Step Six: Flake Broadcast
For flake floor systems, which are the most popular choice for residential garage floors across Michigan and Indiana, decorative vinyl flake chips are broadcast into the wet base coat immediately after application. The flakes are thrown across the surface by hand in a consistent motion designed to achieve the coverage density specified for your system, whether a partial broadcast that shows some base coat color or a full broadcast that completely covers the base coat with flake.
The flakes embed into the wet base coat and cure in place as the base coat hardens. After curing, excess loose flakes are removed from the surface and any areas with uneven coverage are addressed before the topcoat is applied.
Step Seven: Topcoat Application
The clear polyurea topcoat is applied over the cured base coat and embedded flake layer. The topcoat seals the flakes in place, provides the floor’s final surface characteristics including its sheen level and texture, and delivers the UV stability, chemical resistance, hot tire resistance, and abrasion resistance that determine how the floor performs over its service life.
Epoxy Plus applies Penntek polyurea topcoats on every installation regardless of whether the base coat system is epoxy or polyurea, because the polyurea topcoat’s performance properties produce a better long-term result than an epoxy topcoat in the same application. The topcoat is applied at the correct thickness and allowed to cure fully before any traffic is allowed on the surface.
Step Eight: Cure Time and Return to Service
After the topcoat is applied, the floor needs time to cure before it can be used. Light foot traffic is typically possible within a few hours for polyurea systems and within twelve to twenty-four hours for epoxy base coat systems. Vehicle traffic requires full cure, which is typically twenty-four hours for polyurea systems and forty-eight to seventy-two hours for epoxy systems depending on temperature and humidity conditions during curing.
Epoxy Plus provides specific return-to-service guidance for every installation based on the system installed and the conditions on installation day so you have a clear, accurate picture of when your floor will be ready for use.
Epoxy Plus Follows This Process on Every Installation
Every step described above is followed on every Epoxy Plus installation across Michigan and Indiana without exception. As a Penntek Certified Dealer, we use professional-grade products, professional equipment, and a team trained to execute every phase of the process correctly. Every installation is backed by a lifetime warranty because the process produces a result that supports that commitment.
Contact Epoxy Plus today by phone (269) 325-9820 for a free estimate and let us help you choose the right system for your floor. You can also check out all of our Google Reviews and additional services.